1,给你的模型打上你需要的灯光,添加贴图材质等等..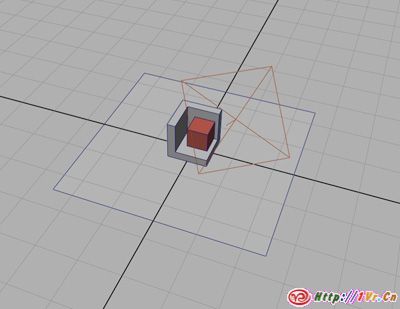
2,渲染你的场景,比如用Mental Ray,你喜欢用什么就用什么.
3,选择所有物体并使用”Mesh->Combine”命令.然后给这些物体打开”Create UVs->Automatic Mapping”,进行展UV操作.打开”Window->UV Texture Editor”并检查用于烘培的新的UV.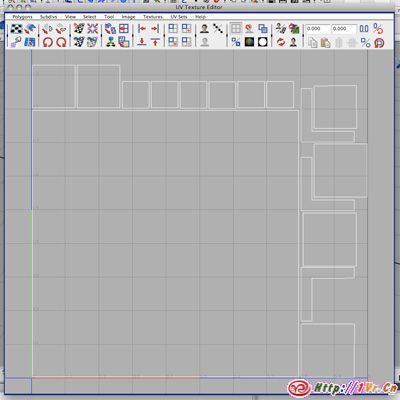
4,切换到”Rendering”工具栏,并且确保你要渲染的物体是被选择的,打开”Texture/Lighting->Batch Bake(mental ray)”对话框,并用如下的设置,然后点击”Convert and close”:
Objects to bake: Selected
Bake to: Texture // IMPORTANT
Bake shadows: checked // IMPORTANT
Keep original shading network: checked // IMPORTANT
Use bake set override: checked // IMPORTANT
Color mode: light and color // IMPORTANT
Normal direction: surface front // IMPORTANT
Prefix: myLightmap // IMPORTANT this will be the filename of the lightmap TIFF, pick a name you like
X resolution: 2048 // depends on the size of the object usually 2048 is plenty, try various values
Y resolution: same value as “X resolution”
File format: TIFF // others work to as long as Unity can import them
Bits per channel: 8 bits // IMPORTANT
Number of samples: 1
Bake to one map: checked // IMPORTANT
UV range: Normal [0 to 1] // IMPORTANT, other settings lead to distorted maps
Fill texture seams: 3 // IMPORTANT, this is the bleed area in pixels around each UV shape to avoid jaggy edges later in Unity
Override mesh UV assignments: checked
UV set name: Lightmap
5,Maya将帮你渲染出Lightmap(根据你设置的分辨率和渲染选项不同可能消耗比较长的时间),这个图不会在Maya中显示,这个文件看起来会像下面这种: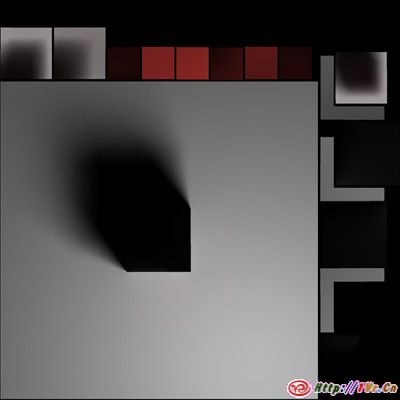
9,保存场景和切换到Unity,找到Lightmap并导入到Unity中.默认路径”user/[your username]/documents/maya/projects/[maya project name]/renderData/mentalray/lightMap/[prefix].tiff”,选择你的模型,更改材质为”Lightmapped”,并将tiff格式的烘培图文件赋予给它,搞定!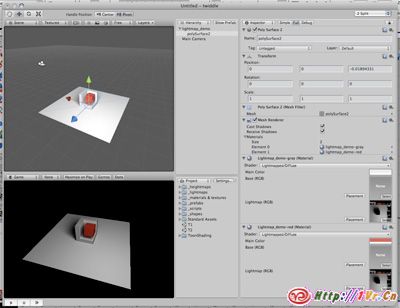
原文:http://forum.unity3d.com/viewtopic.php?t=9606
威阿翻译,转载请注明来处1Vr.Cn